Guide to Sewing Pins
It sometimes feels like everyone has an opinion about all aspects of sewing which can make it hard to navigate what is best for you and your sewing needs. This series of blog posts will hopefully demystify some of these and even sort some of the opinion from fact!
Do I need to pin?
Short answer – yes. Long answer…
You will have seen the instagram reels of sewing demos where someone whips up a make in seconds without a pin in sight. It can be tempting to skip this step, you’ll just sew super carefully. Unfortunately the majority of fabrics shift and what can start out as a time saving thing can add hours to a project if you need to unpick a wonky and ill-matched seam. If you are doing a straight line on quilting cotton, the need is much less than if you are easing a sleeve into a bodice. In that case you need to pin the heck out of that seam!
Which Pins?
There are so many types of pins, including specialist pins for different fabrics. However, when you are starting out you will come across some main types
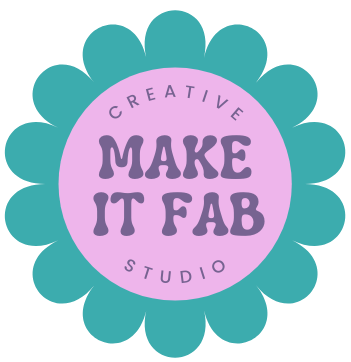
Dressmaking pins These are the fine pins with a small head. On the plus side these pins are very fine and are great for delicate fabrics. You can also iron over them with no problems. On the down side they are very fine and are not great if you don’t have great eyesight or fine motor skills. In fact, I fine them tricky to pick up and I have no fine motor skill issues!
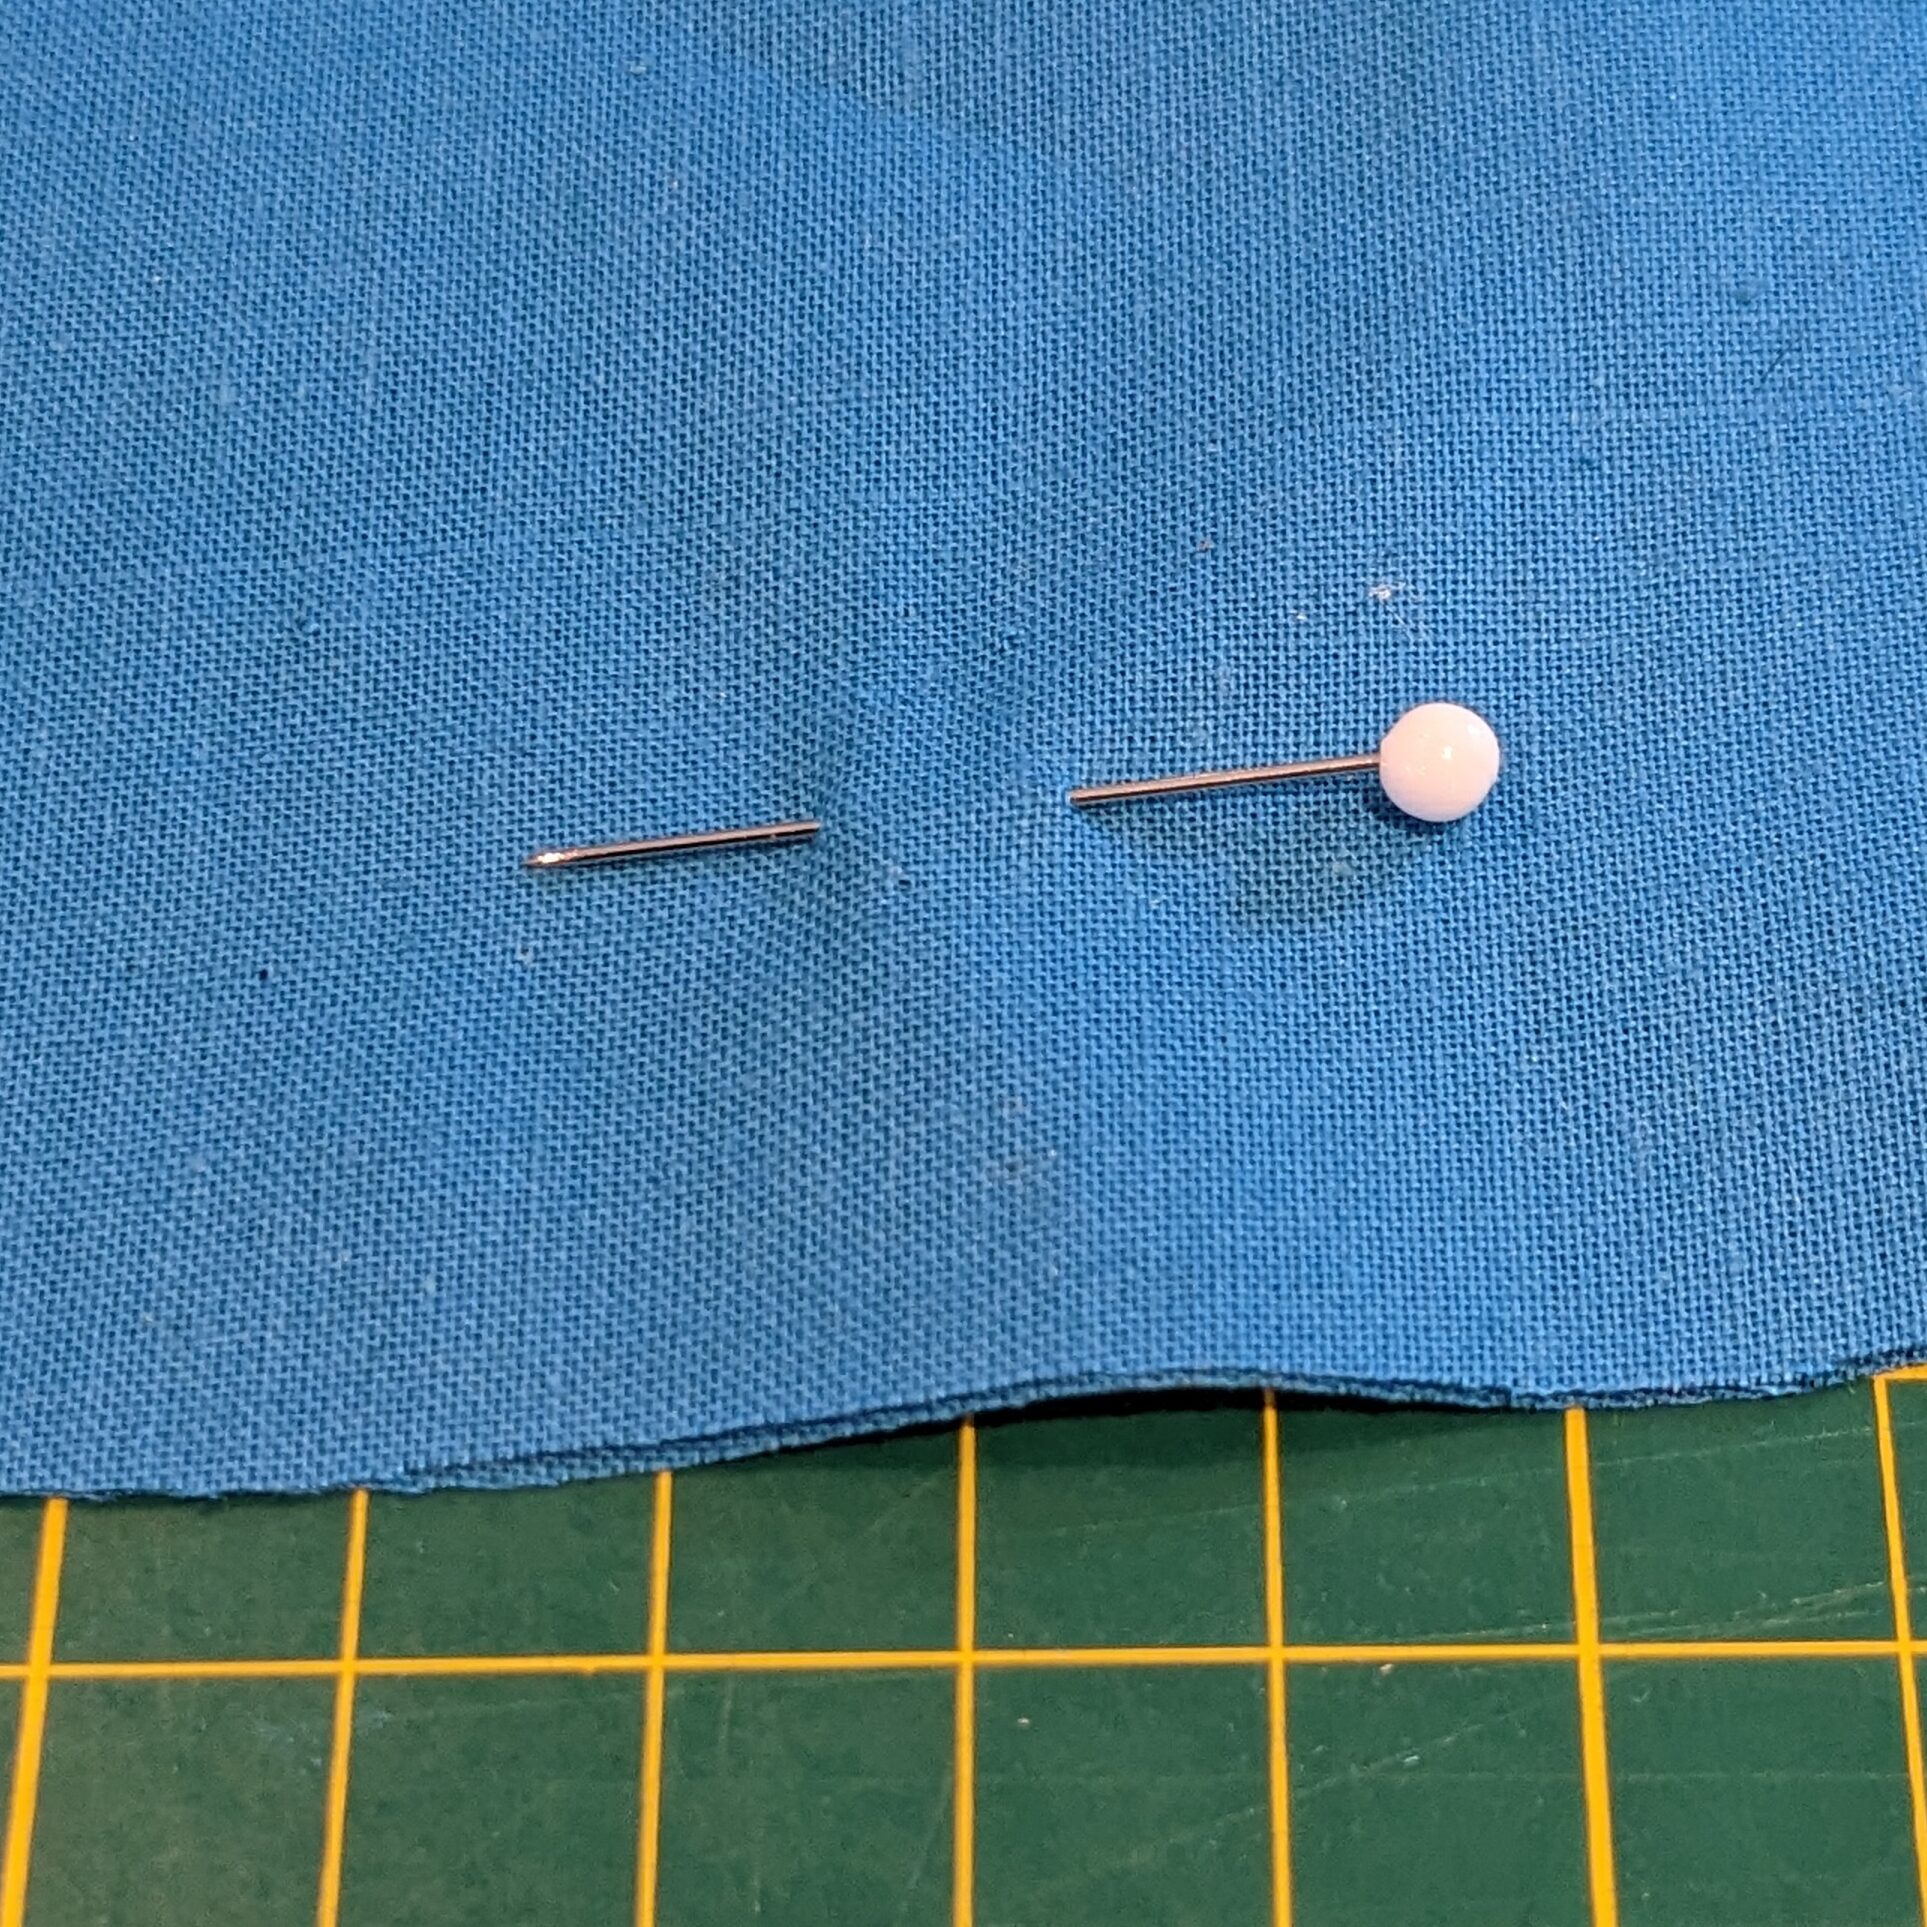
Glass headed pins These improve the problem with picking up and actually finding them if you drop them. They tend to be fine and can be ironed over. Their big downside is price. They can be very expensive so maybe more of a treat.
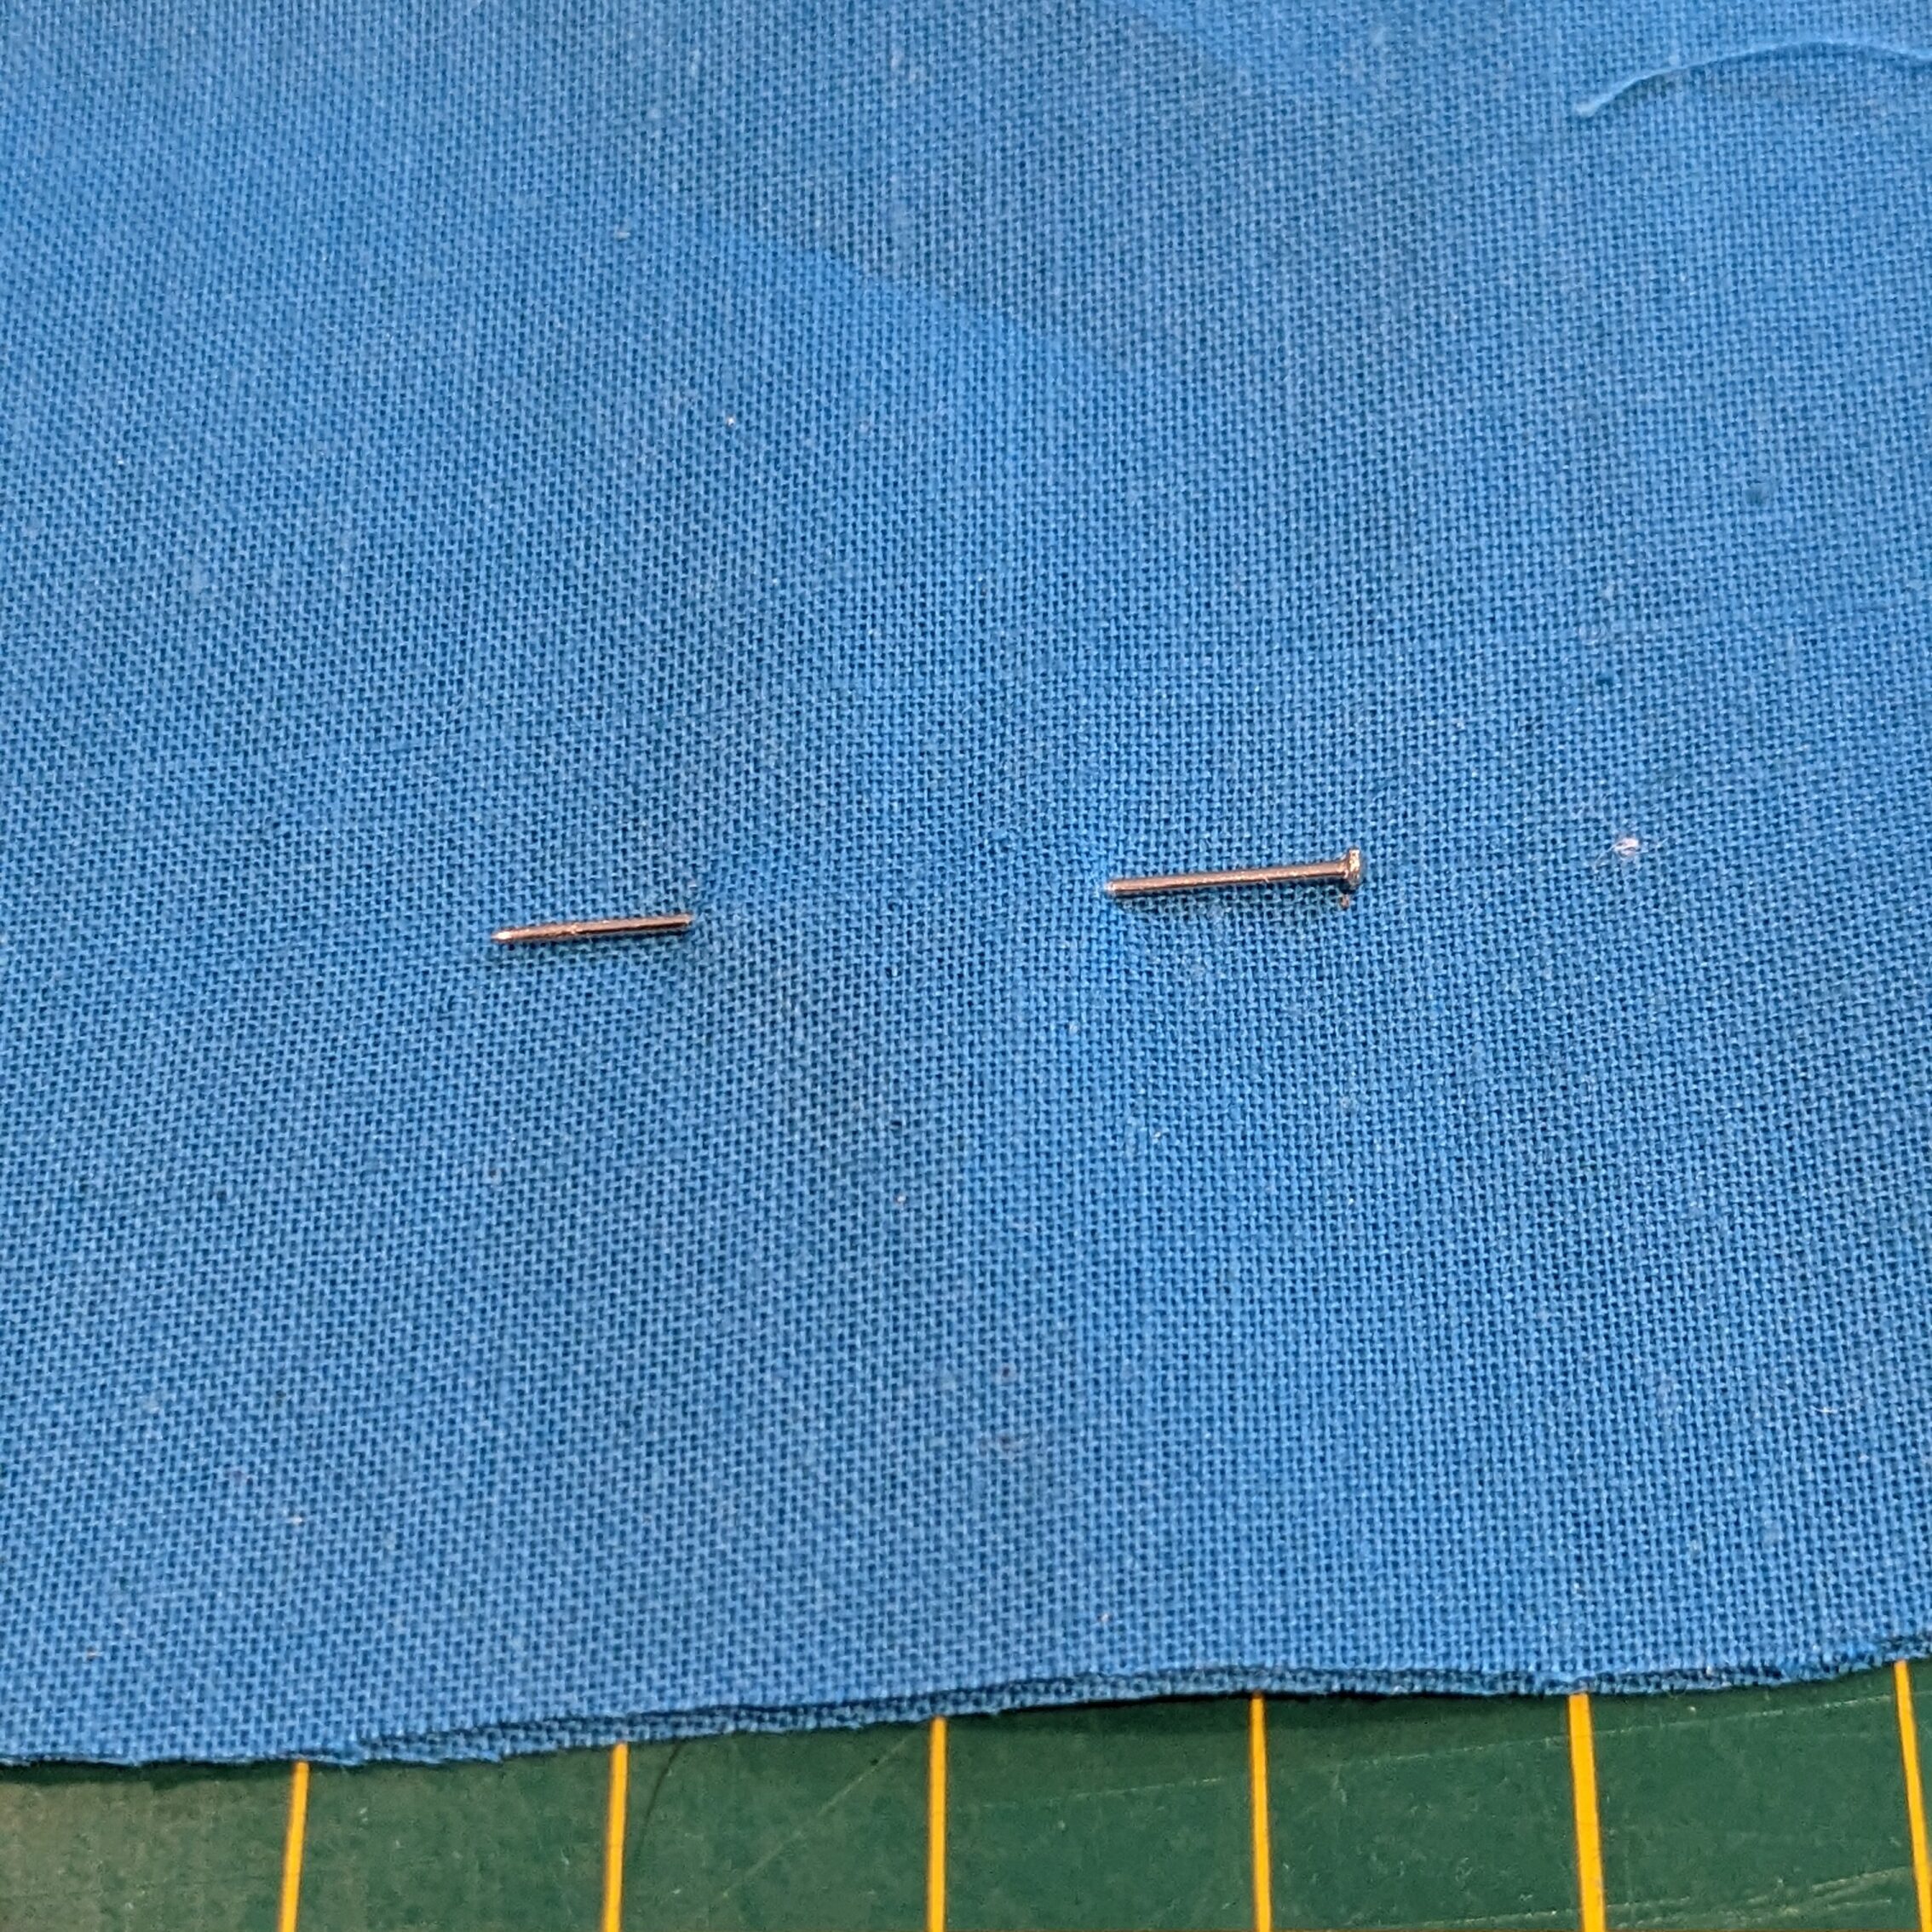
Plastic headed pins These improve the issue with price. You can pick them up cheaply from most of the cheaper discount shops and are often the type you will get in sewing kits. The issue with these is you can’t iron over them. They are also often not as fine as other pins.
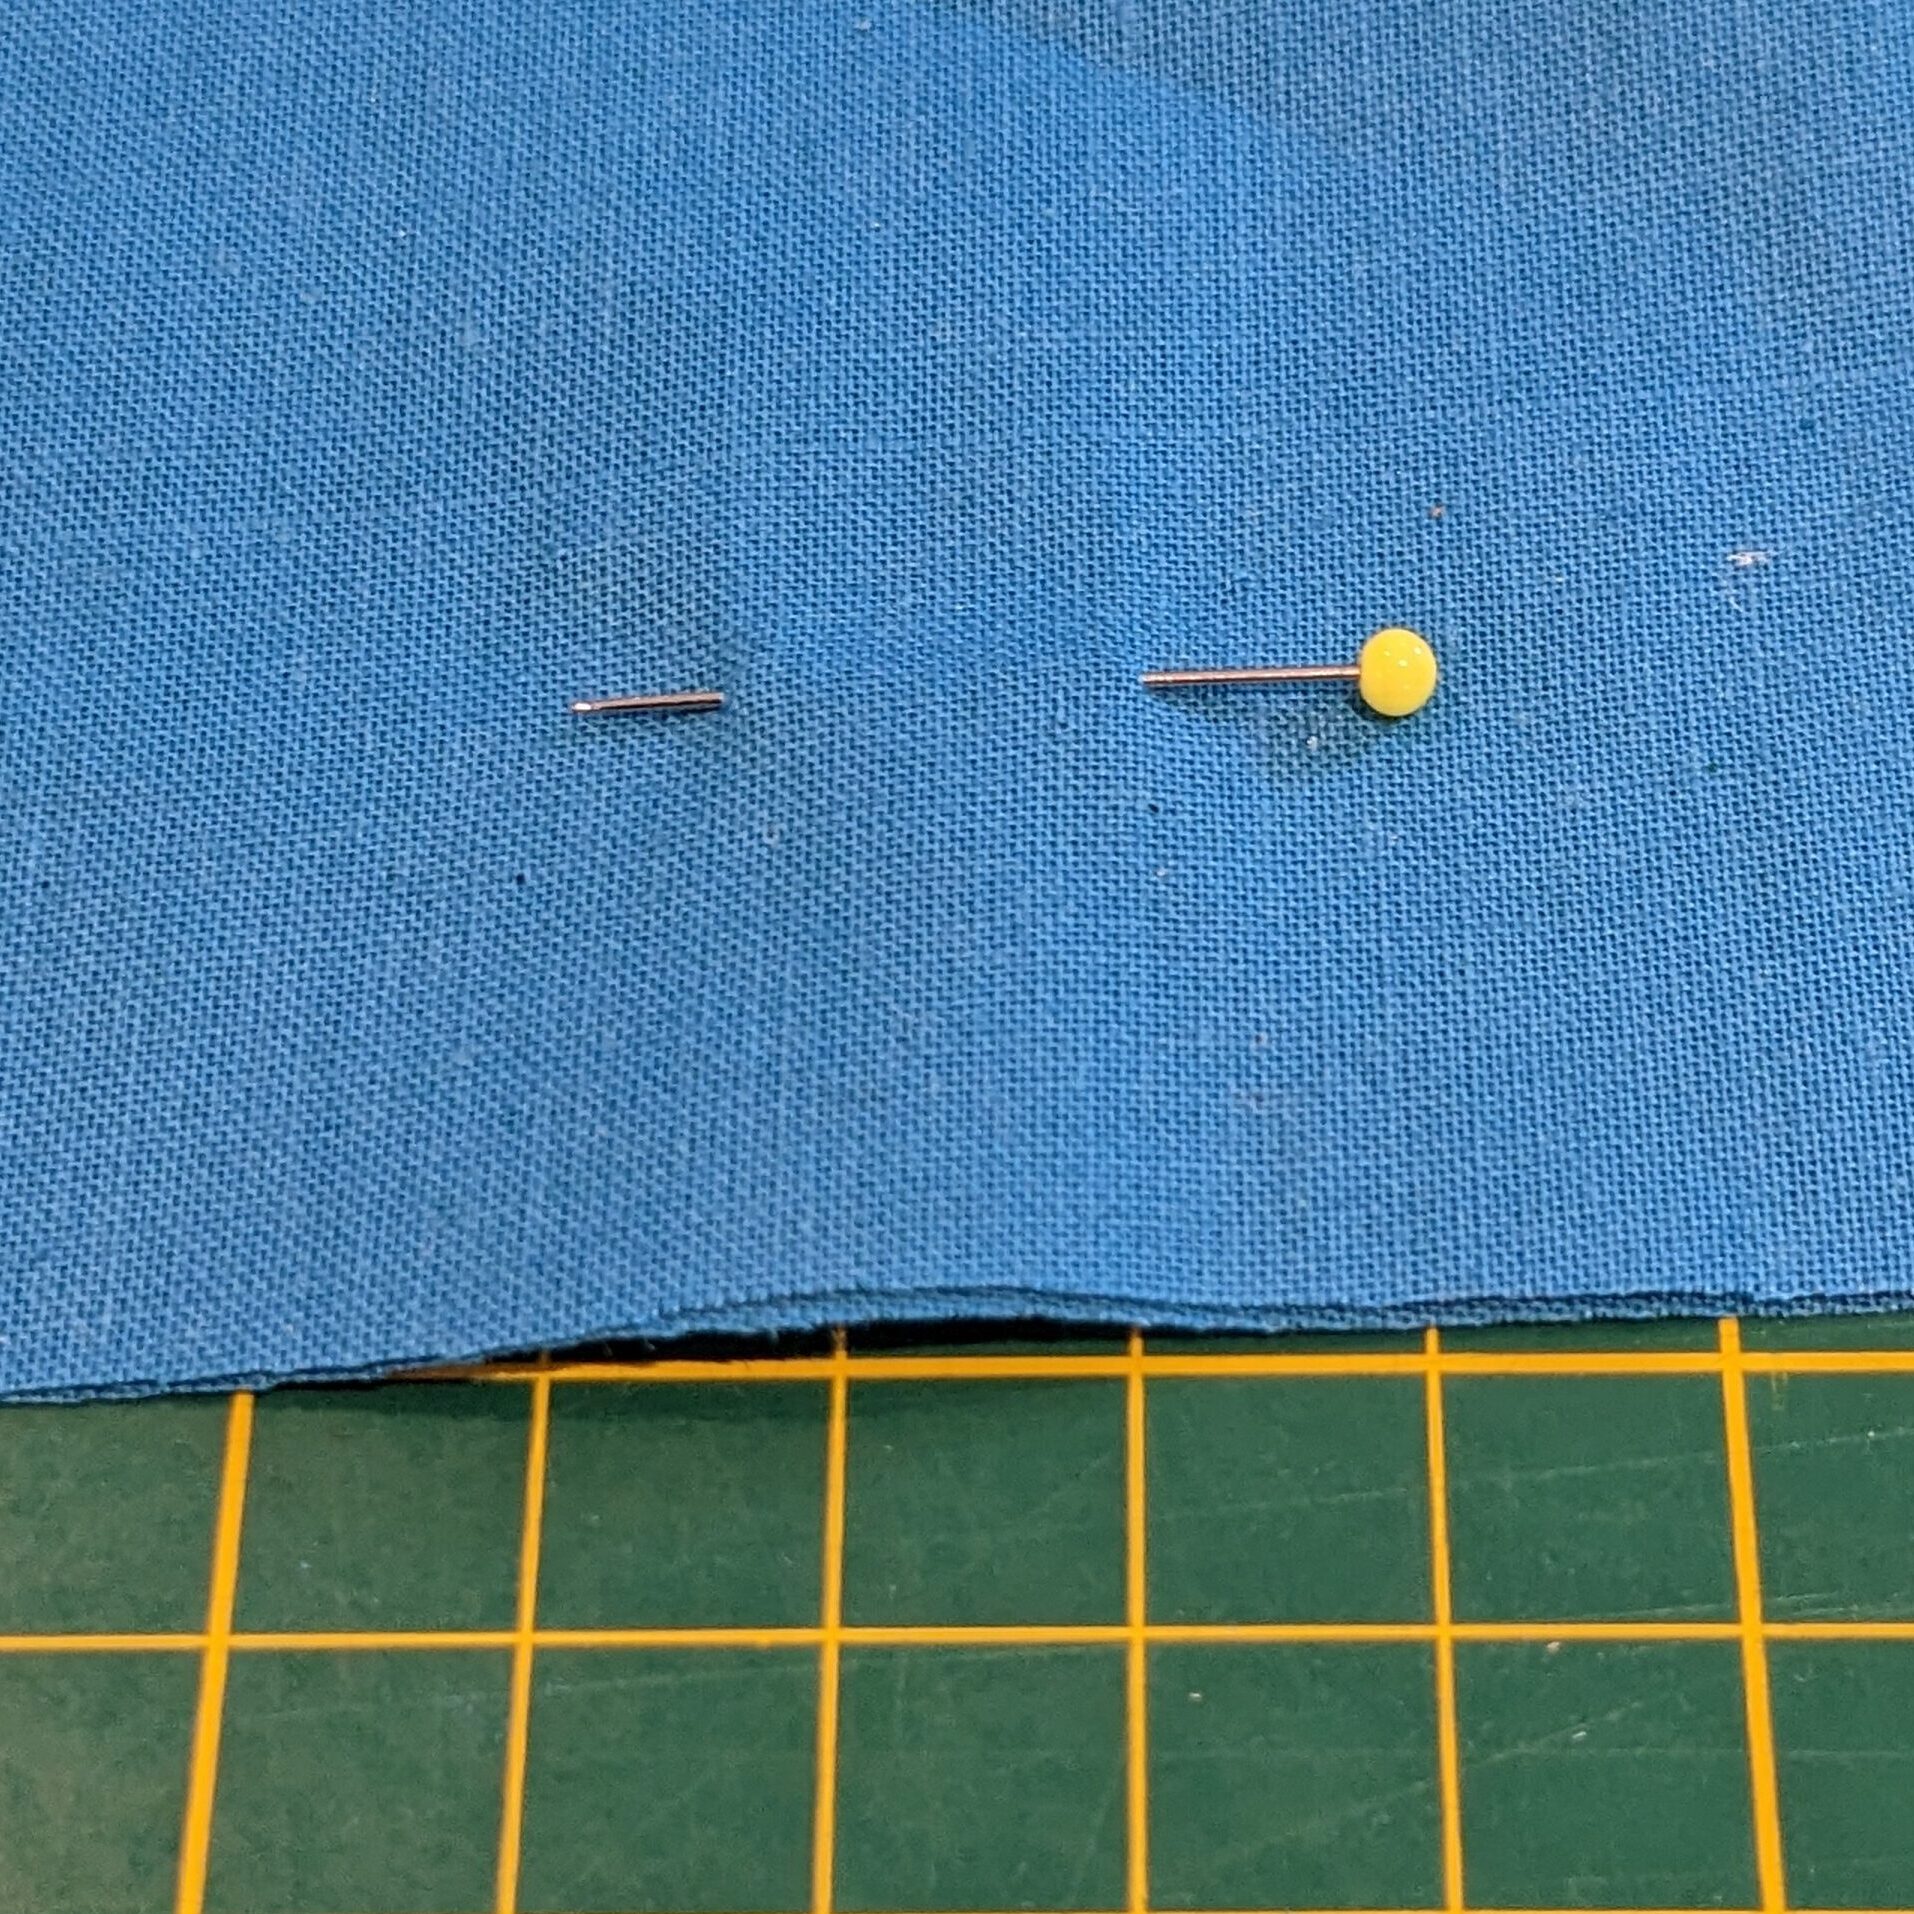
Quilting pins These are longer, fine pins with a large flat plastic head. They are best of the readily available pins for fine motor skills. So they are great for children and people with conditions like arthritis. Like the plastic headed pins you can’t iron over them though. They are more expensive (be aware that cheaper quilting pins will not be as fine so won’t be great for delicate fabrics) but, let’s be honest, having butterflies and flowers adorning your sewing sparks a bit of joy!
How to Pin?
Ah – the question that can get a group of sewists debating for hours. One thing everyone can agree on – don’t stitch over your pins! At best it will mess with your tension, at worst you can hit the pin and break the pin, needle and even the inner workings of your sewing machine!
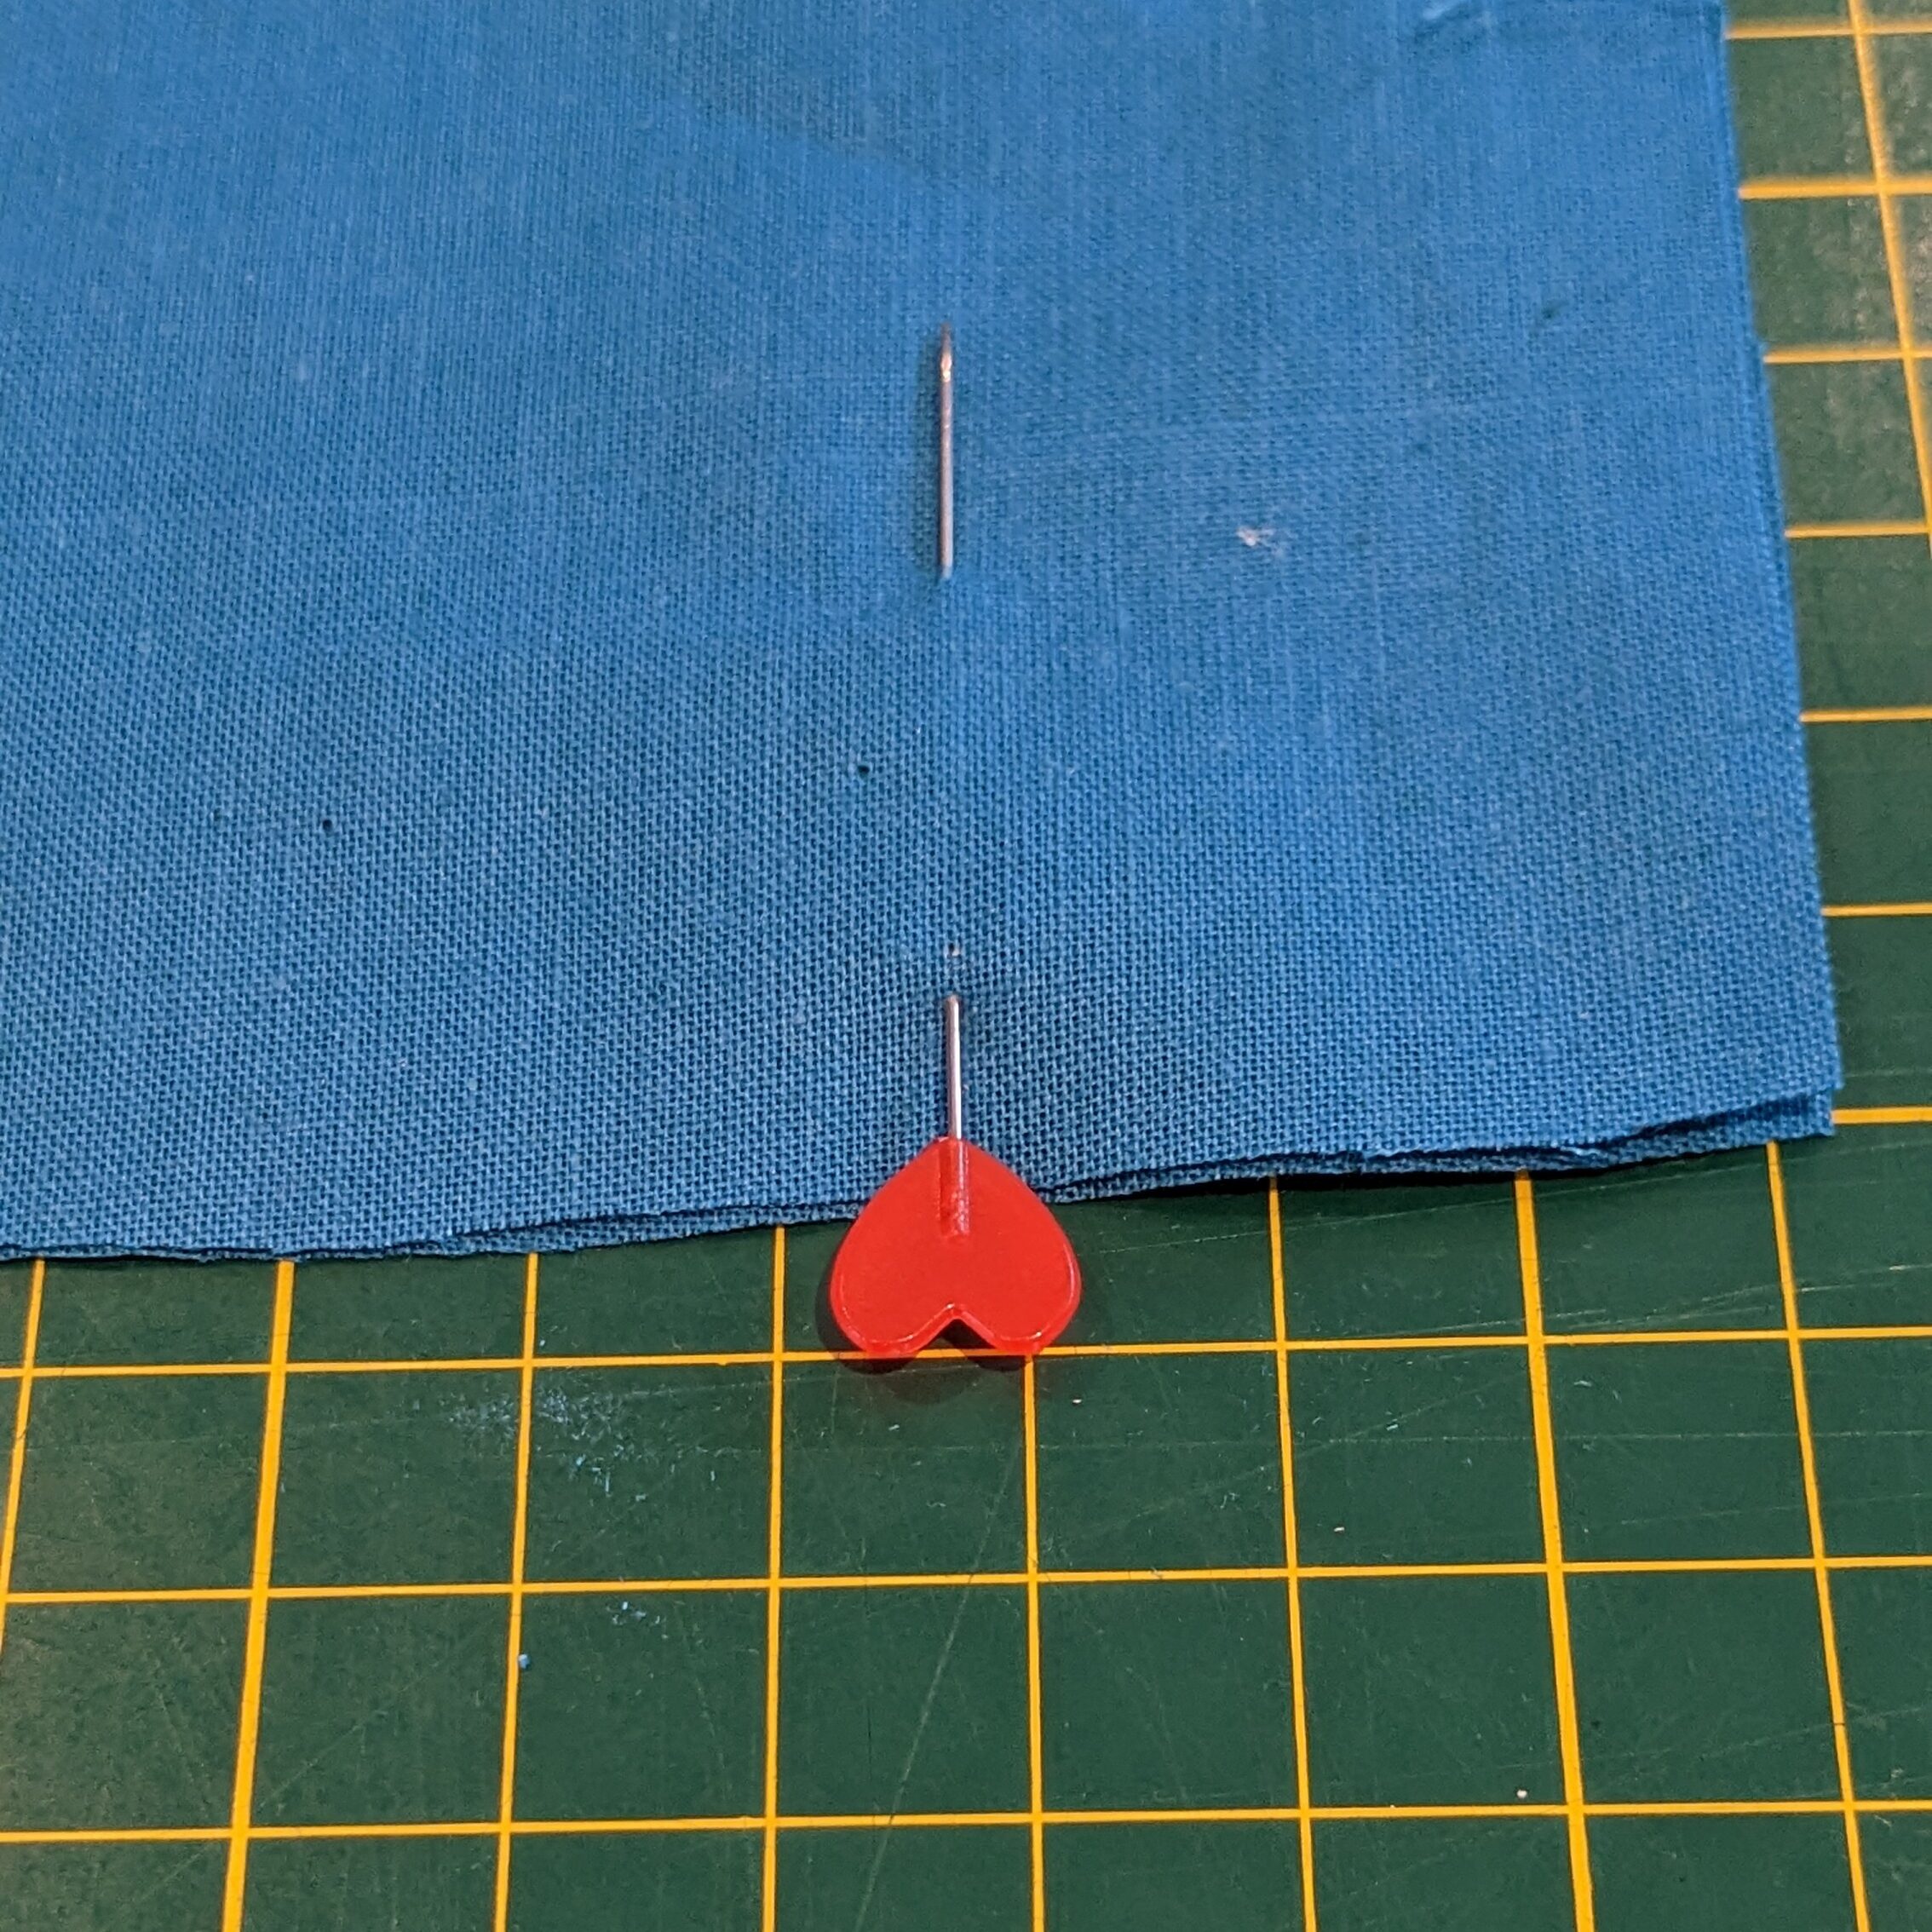
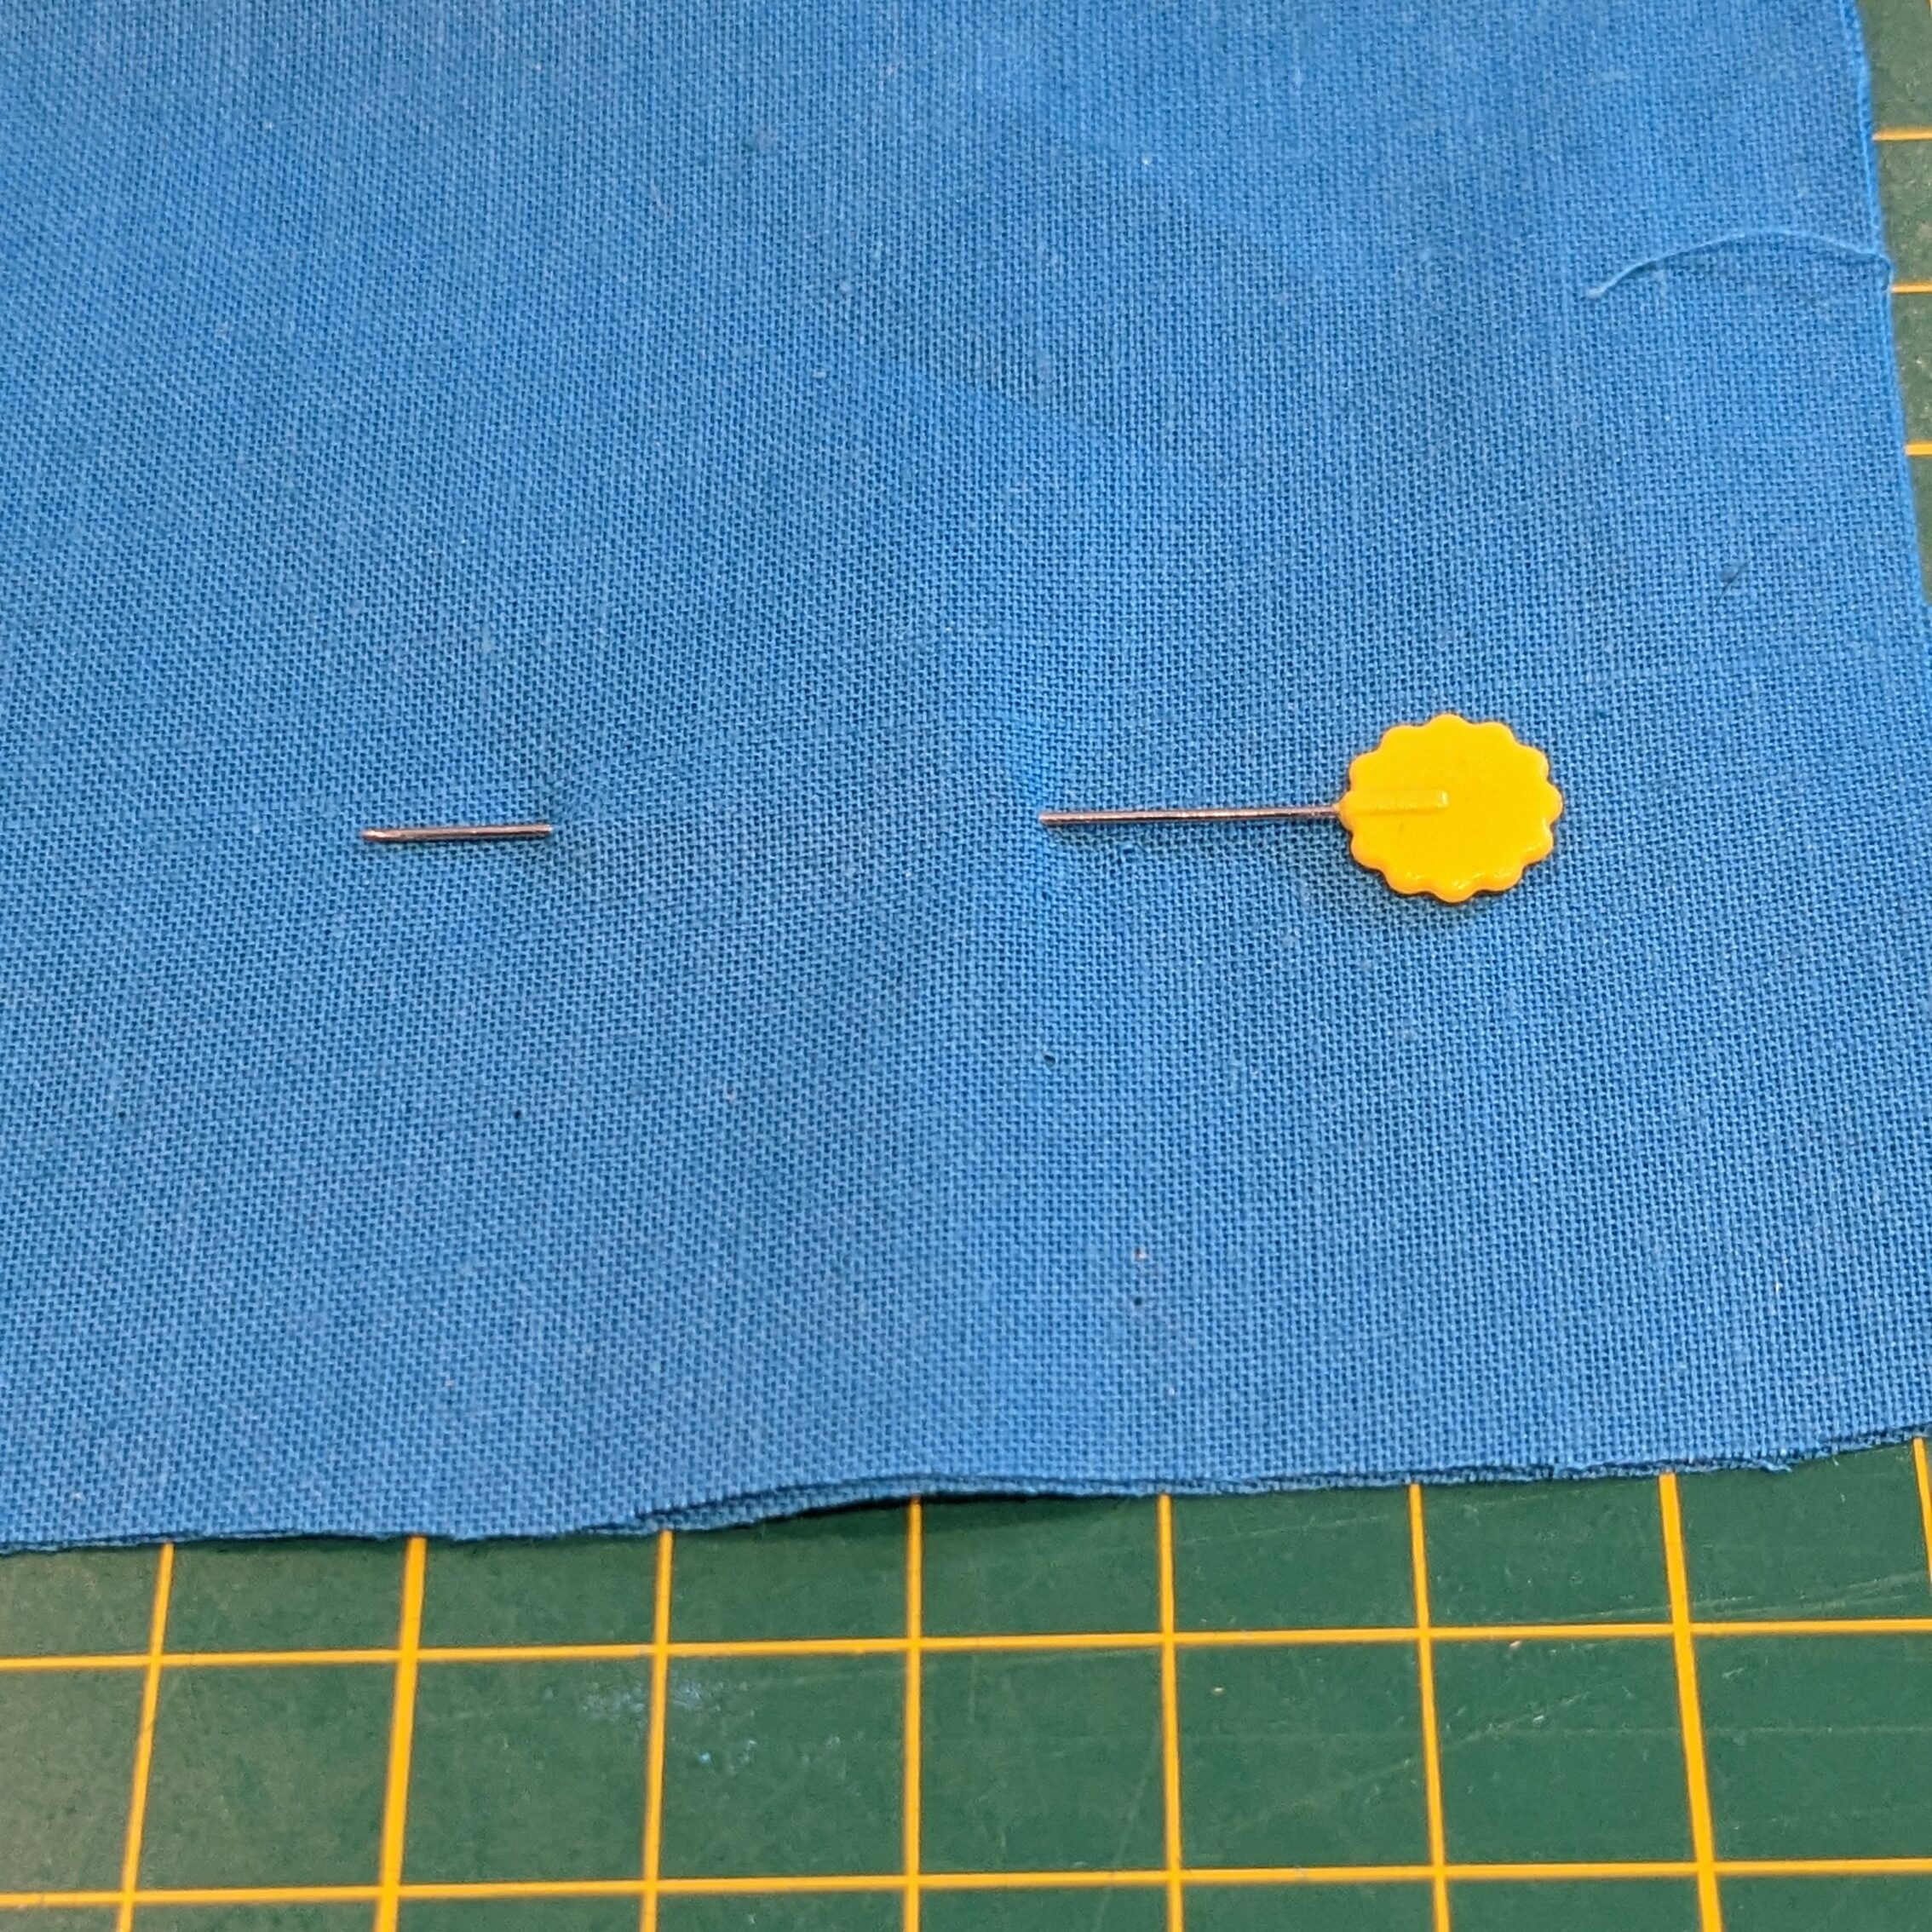
Pinning at right angles to a seam can give you more control as you can squeeze more in there. Make sure your pin pierces the fabric where you will be sewing the seam – this way you will know your fabric is meeting on a flat surface and you’ll be less risk of puckers. On the down side it can be easy to accidentally sew over a pin this way, particularly if you are using very fine pins.
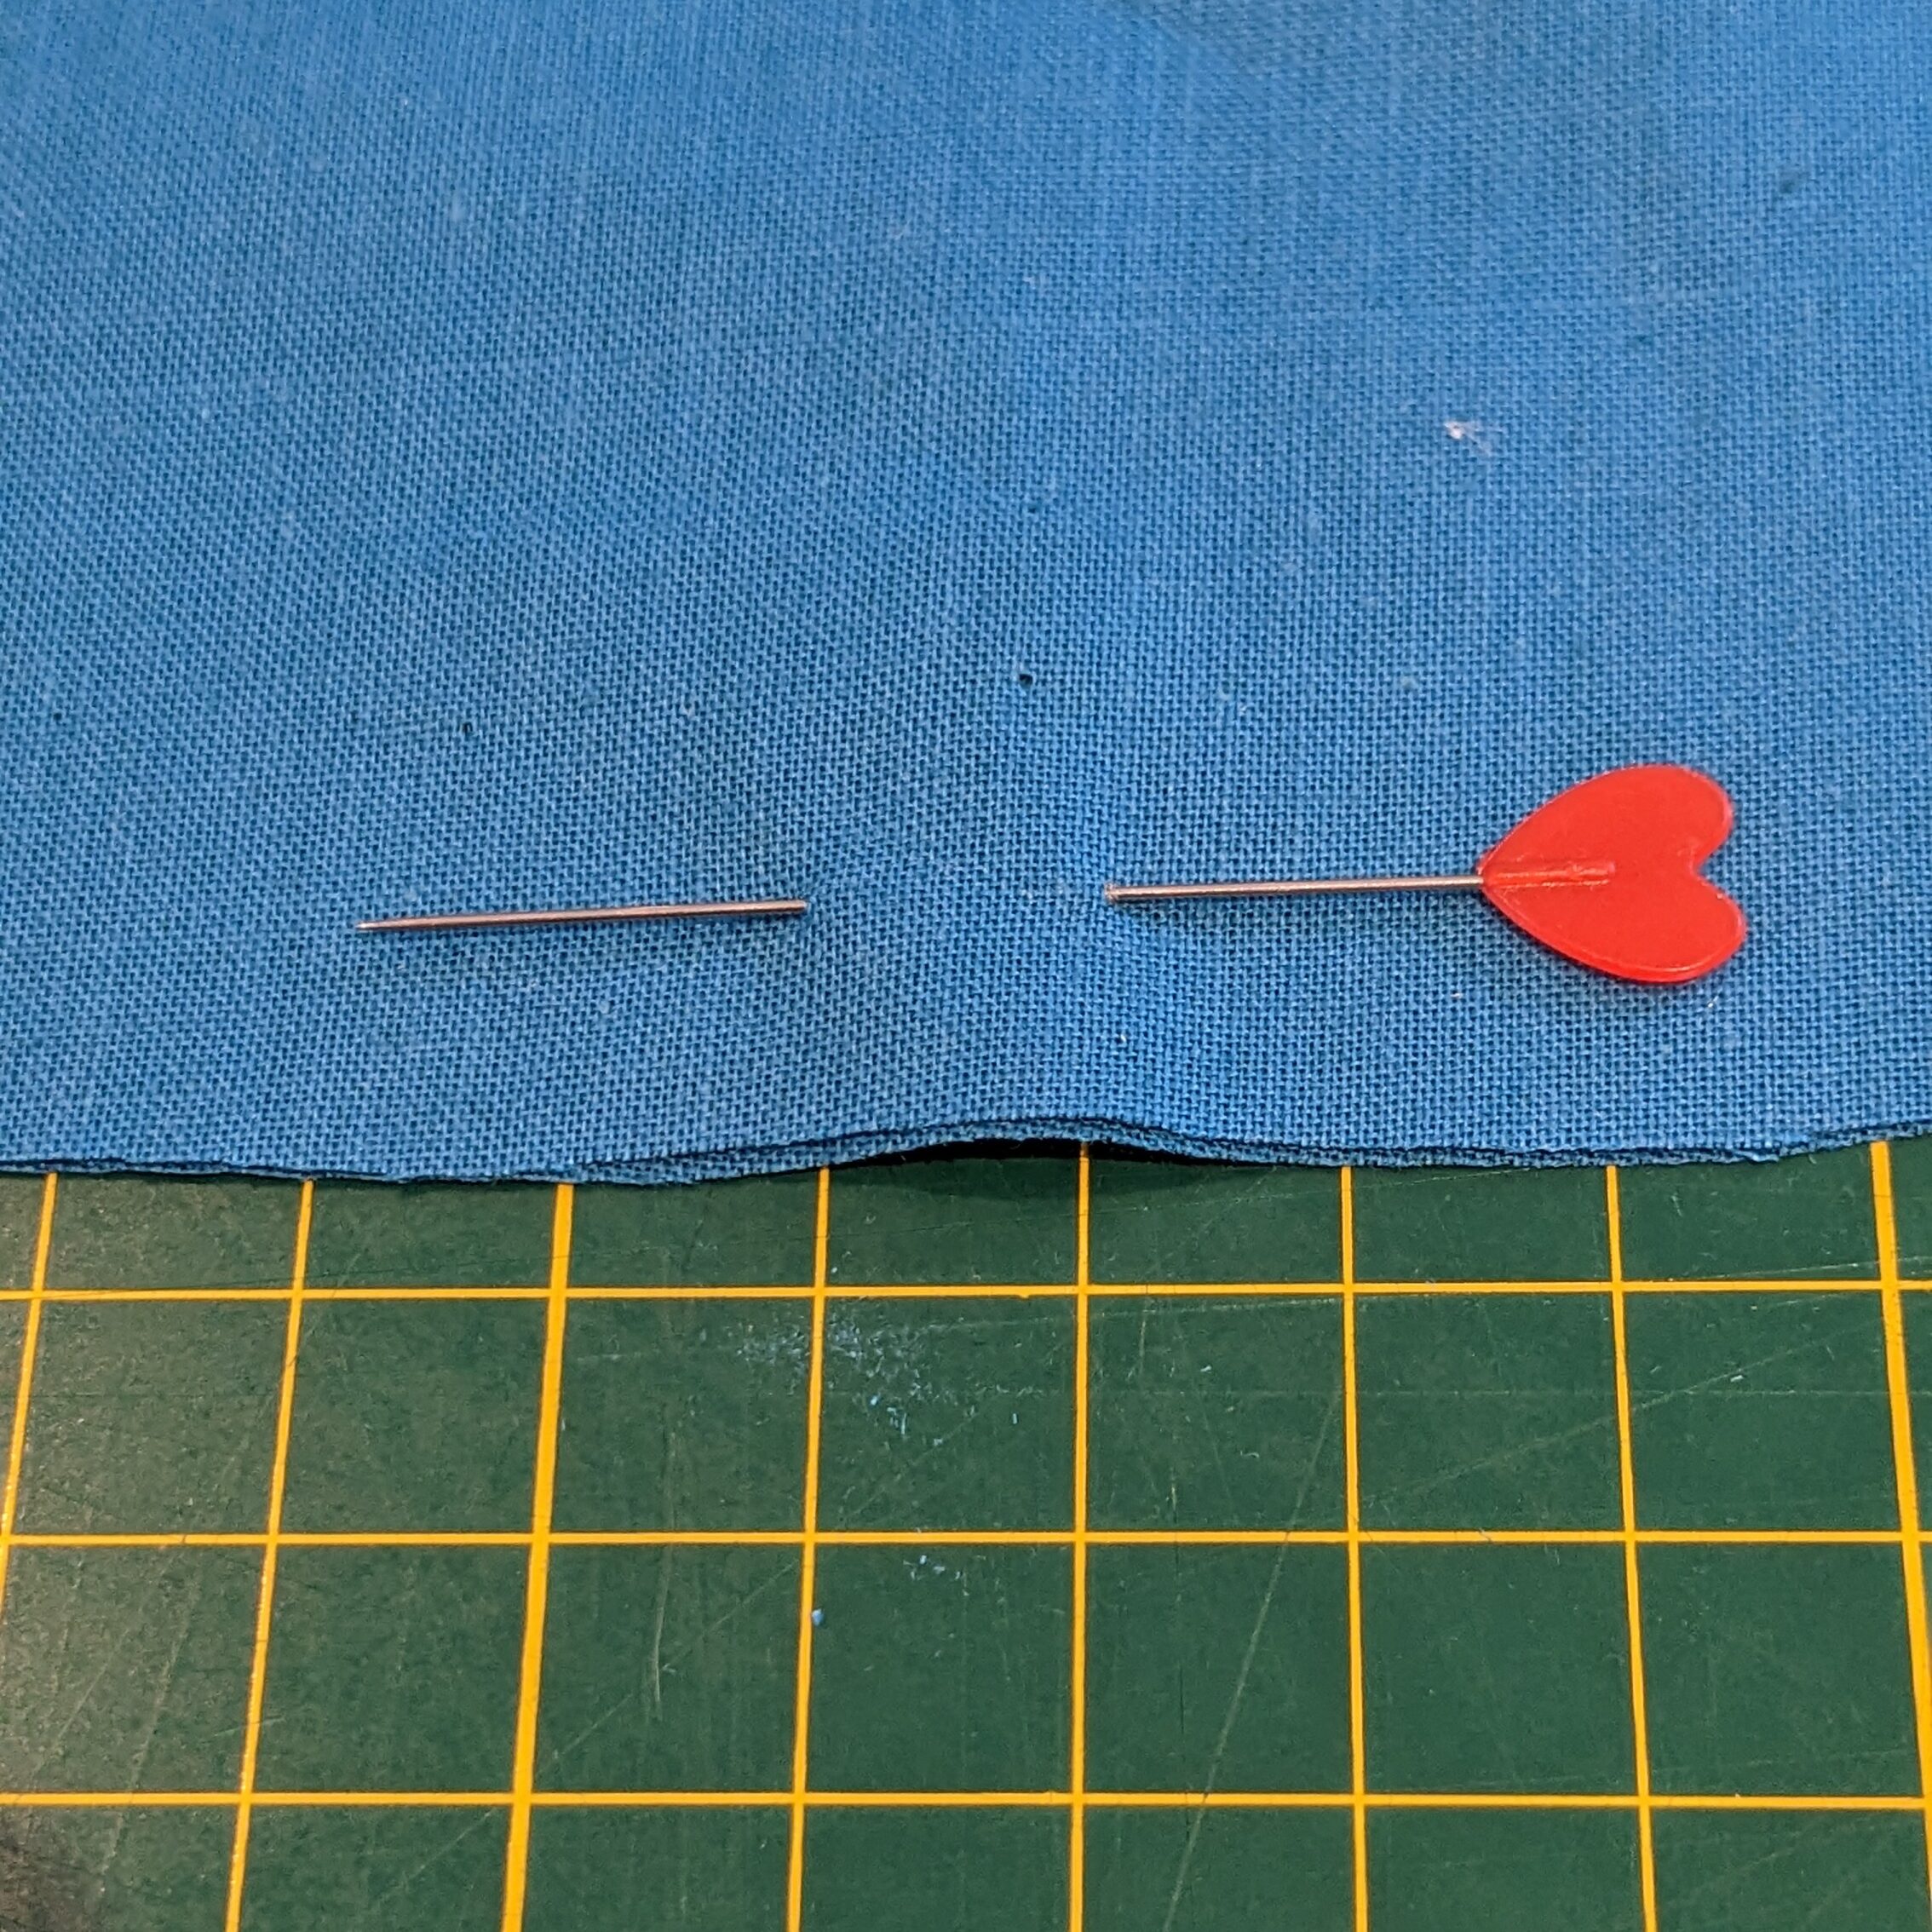
Pinning along the seam is particularly good for flat laying seams and is a bit of a speedier option. I find that fabric is a little more likely to move using this method so leave it for more stable fabrics. On the plus side it is much harder to sew over a needle with this style of pinning
Pin Alternatives
There are alternatives to pins. For my classes with children the pins are put away and I bring out clips. Clips are an easy alternative to pins for more simple seams. They are easy to grasp, place and remove. Perfect for people with issues with fine motor skills. They don’t give you the control a pin will though, so stick with pins for more fiddly seams.
The other option I like for fiddly seams and for speed sake is quilting glue. It is a more expensive option but perfect for sewing with younger children. I also use it for adult groups who are doing small projects. Sewing should be fun and for your very first make sometimes fiddly with pins can be just one more thing to worry about.
So that is our guide to pins. As with everything in sewing, do what is best for you! If you have any questions I haven’t covered drop us a line